Friday, January 30, 2015

Silhouette Printing & Cutting Stickers Tutorial Series: Getting Started

Hi! Today I will be starting a series of an in depth tutorial on how to print and cut using your Silhouette Machine! This post will be the main tutorial and will only touch the basics of how to print and cut stickers. Every week I will be posting more info about things that people find a hard time with such as tracing, creating and designing in silhouette studio, registration marks, etc. I hope you enjoy this tutorial and learn something new!


It does not matter. whether you have a Silhouette Cameo or Silhouette Portrait. Both are capable of printing and cutting, the only difference between the two are the size and some added features on the Cameo.

Silhouette is also currently holding this promotion! Just use promo code: WENDA to get this discount!


What you will need:

-A Printer! (the Silhouette machine is not a printer, it is just a cutting machine)
- Paper (sticker paper, cardstock paper, etc.)
- Silhouette Machine
- Silhouette Mat
- Silhouette Studio Program

Before printing and cutting, you need to have installed the Silhouette Studio Program on your computer. It's free on their website, you can download it here.

Step 1: Importing Image/Designs

Options:
Silhouette Design Store
Googling Images (personal use only)
Etsy Shops (Digital Clip Art)
SVG Files (can only be imported in Designer Edition)
Drawing/Designing using shapes in Silhouette Studio

To import your image you can drag and drop the images in .jpg or .png formats into silhouette studio, then resize and organize to your liking. In another post I will show you how to trace an image that won't cut (will cut only the square background with it).

If you bought something from the design store simply click on your library and click the image you would like to use.
 

Step 2: Designing Images

Typically if you buy a design from the Silhouette Design Store, it will come with only the cut lines. So there are no colors or anything. You can easily change the colors by first ungrouping the image then clicking on parts of it to color in or create a pattern using the fill, gradient, and pattern windows.
This is the design I bought thinking it would look like this

This is what it actually was

You have to ungroup it first to color in your image

Fill each shape even the tiny circles had to be filled in with white

then you have to move each part and layer it on top of each other

to eventually get the image you want! then just group it together and print! and be sure to to cut only the edge!

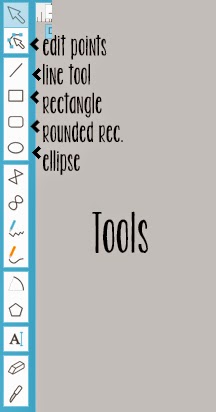
You can create basic shapes using the tools on the side bar in silhouette studio. They have a rectangle/square, rounded rectangle, and ellipse tool. You can also try your hand at drawing your own.

To create your own shapes from the other shapes you can easily do that by clicking on edit points then adding points, and dragging it. I will teach you in another post how to make an arrow label and a tear drop!

Step 3: Replicating and Aligning

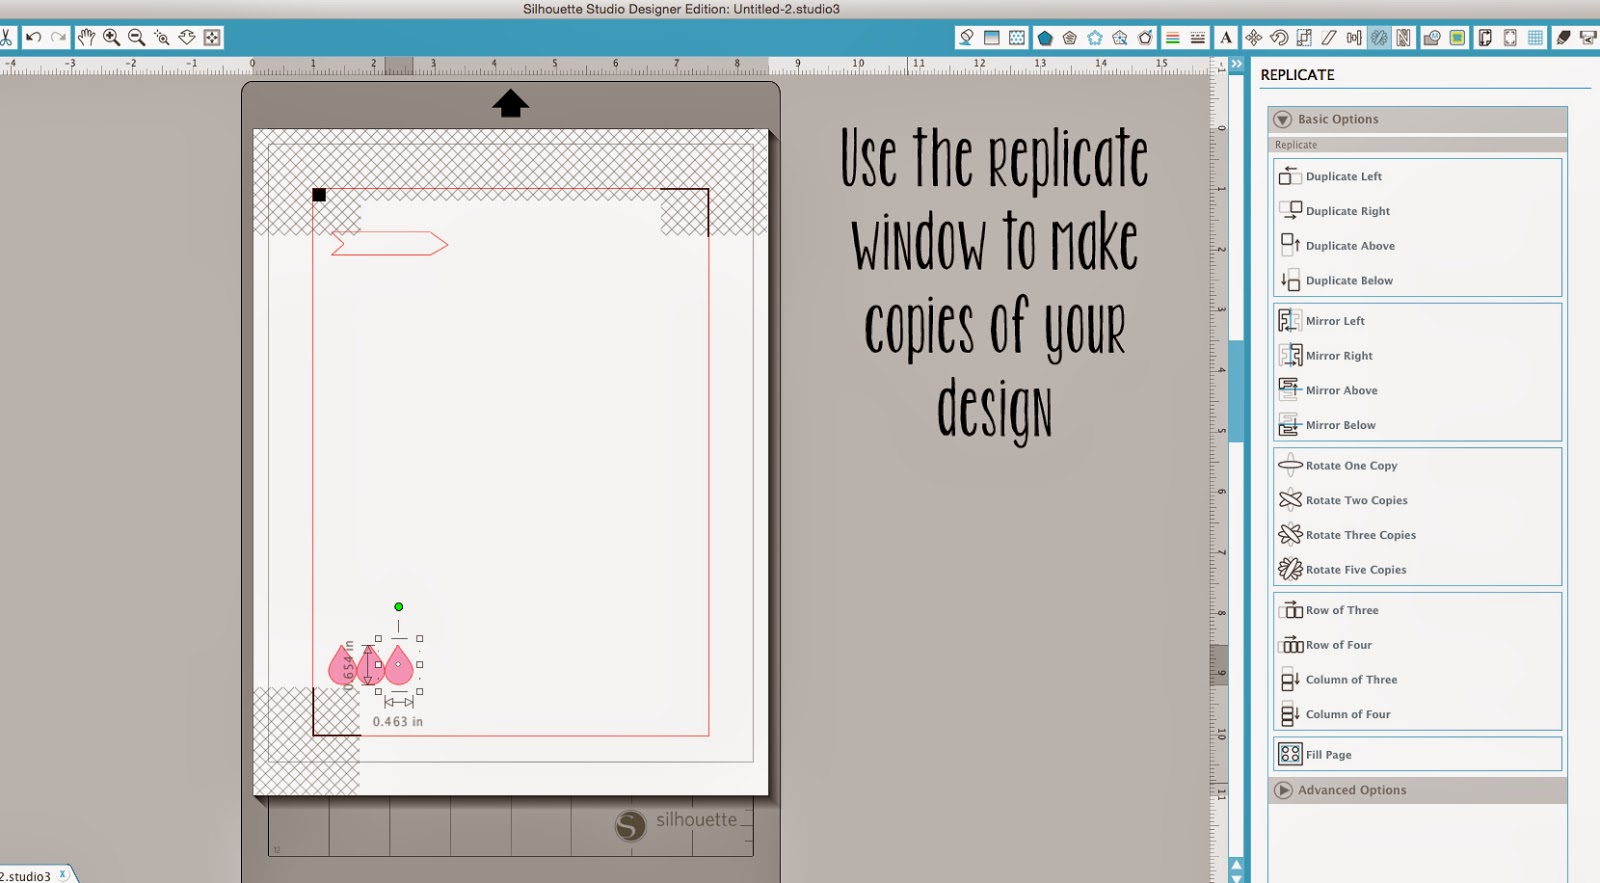
Filling up your page. If you are making stickers it is most likely that you are using an 8.5 by 11 inch paper and using sticker paper. So to not waste paper I will teach you how to easily copy and paste your design multiple times. All you have to do is use the replicate window! You can copy it below, left, right, above, or do a row or column of three or four. I like to replicate a column of four then space them out.

For nice easy cut lines it is best to space them out. To do this just keep replicating until your page is full then drag out the last or first one. Then go to to the align window, and space it vertically! or horizontally if you have it in a row.


Step 4: Changing Colors/Patterns


You can then change the patterns or colors of each row or column to your liking using the fill, gradient, or pattern window. Just selct the row of images, then click fill, then choose your color.


Step 5: Registration Marks

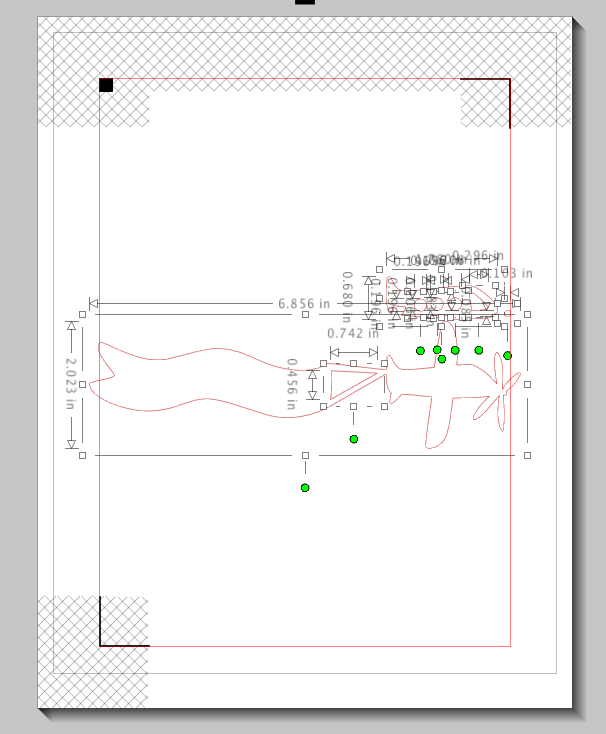
This is super super important! Make sure you have your registration marks on! click on the registrations mark window and restore it all to default. Make sure your designs are all within the red box for cutting and within the grey box for printing! You need to make sure that the registration marks are all within the grey box as well. You need these marks so that the silhouette machine will read it and know where to cut.
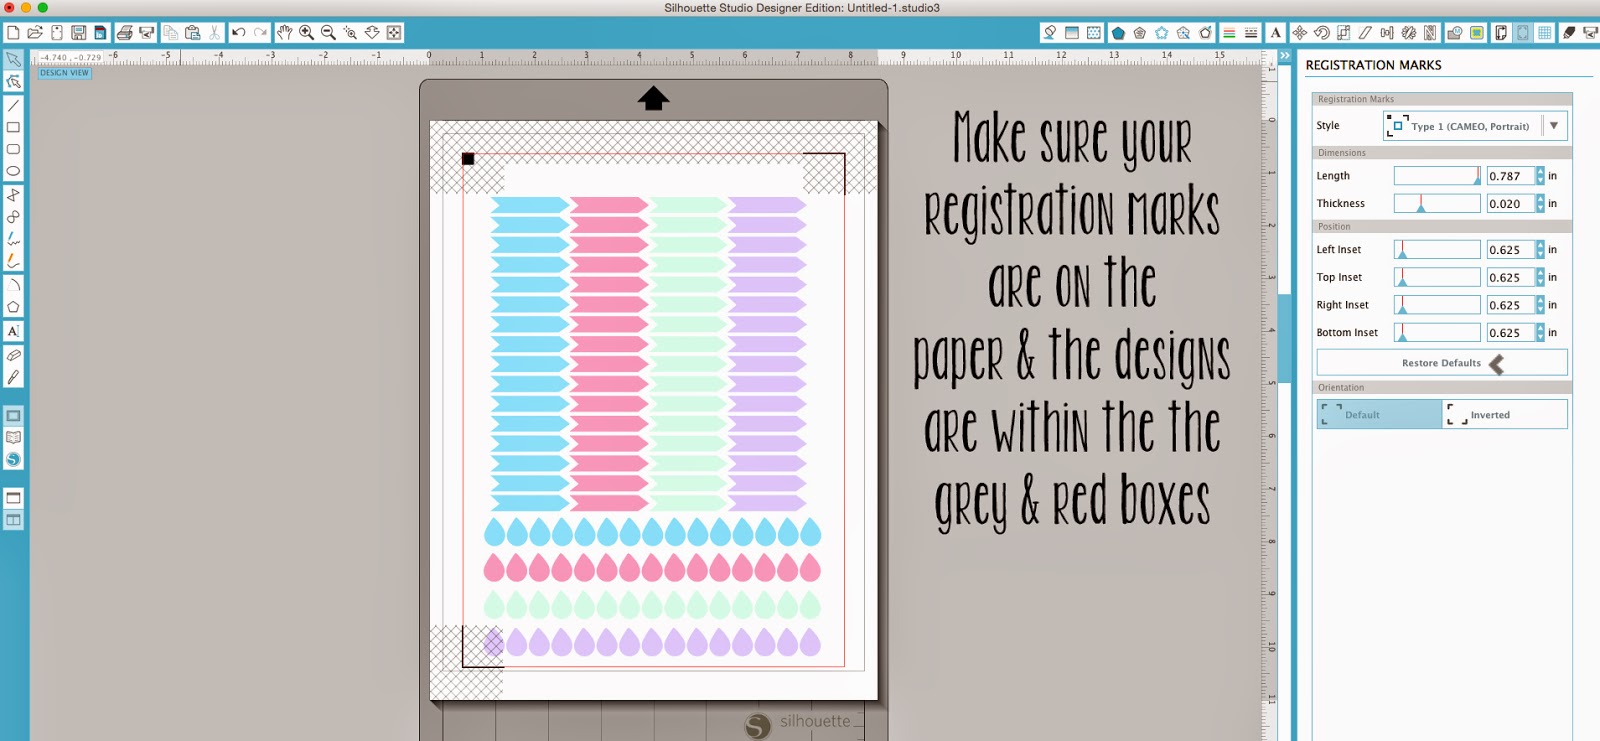

Step 6: Printing

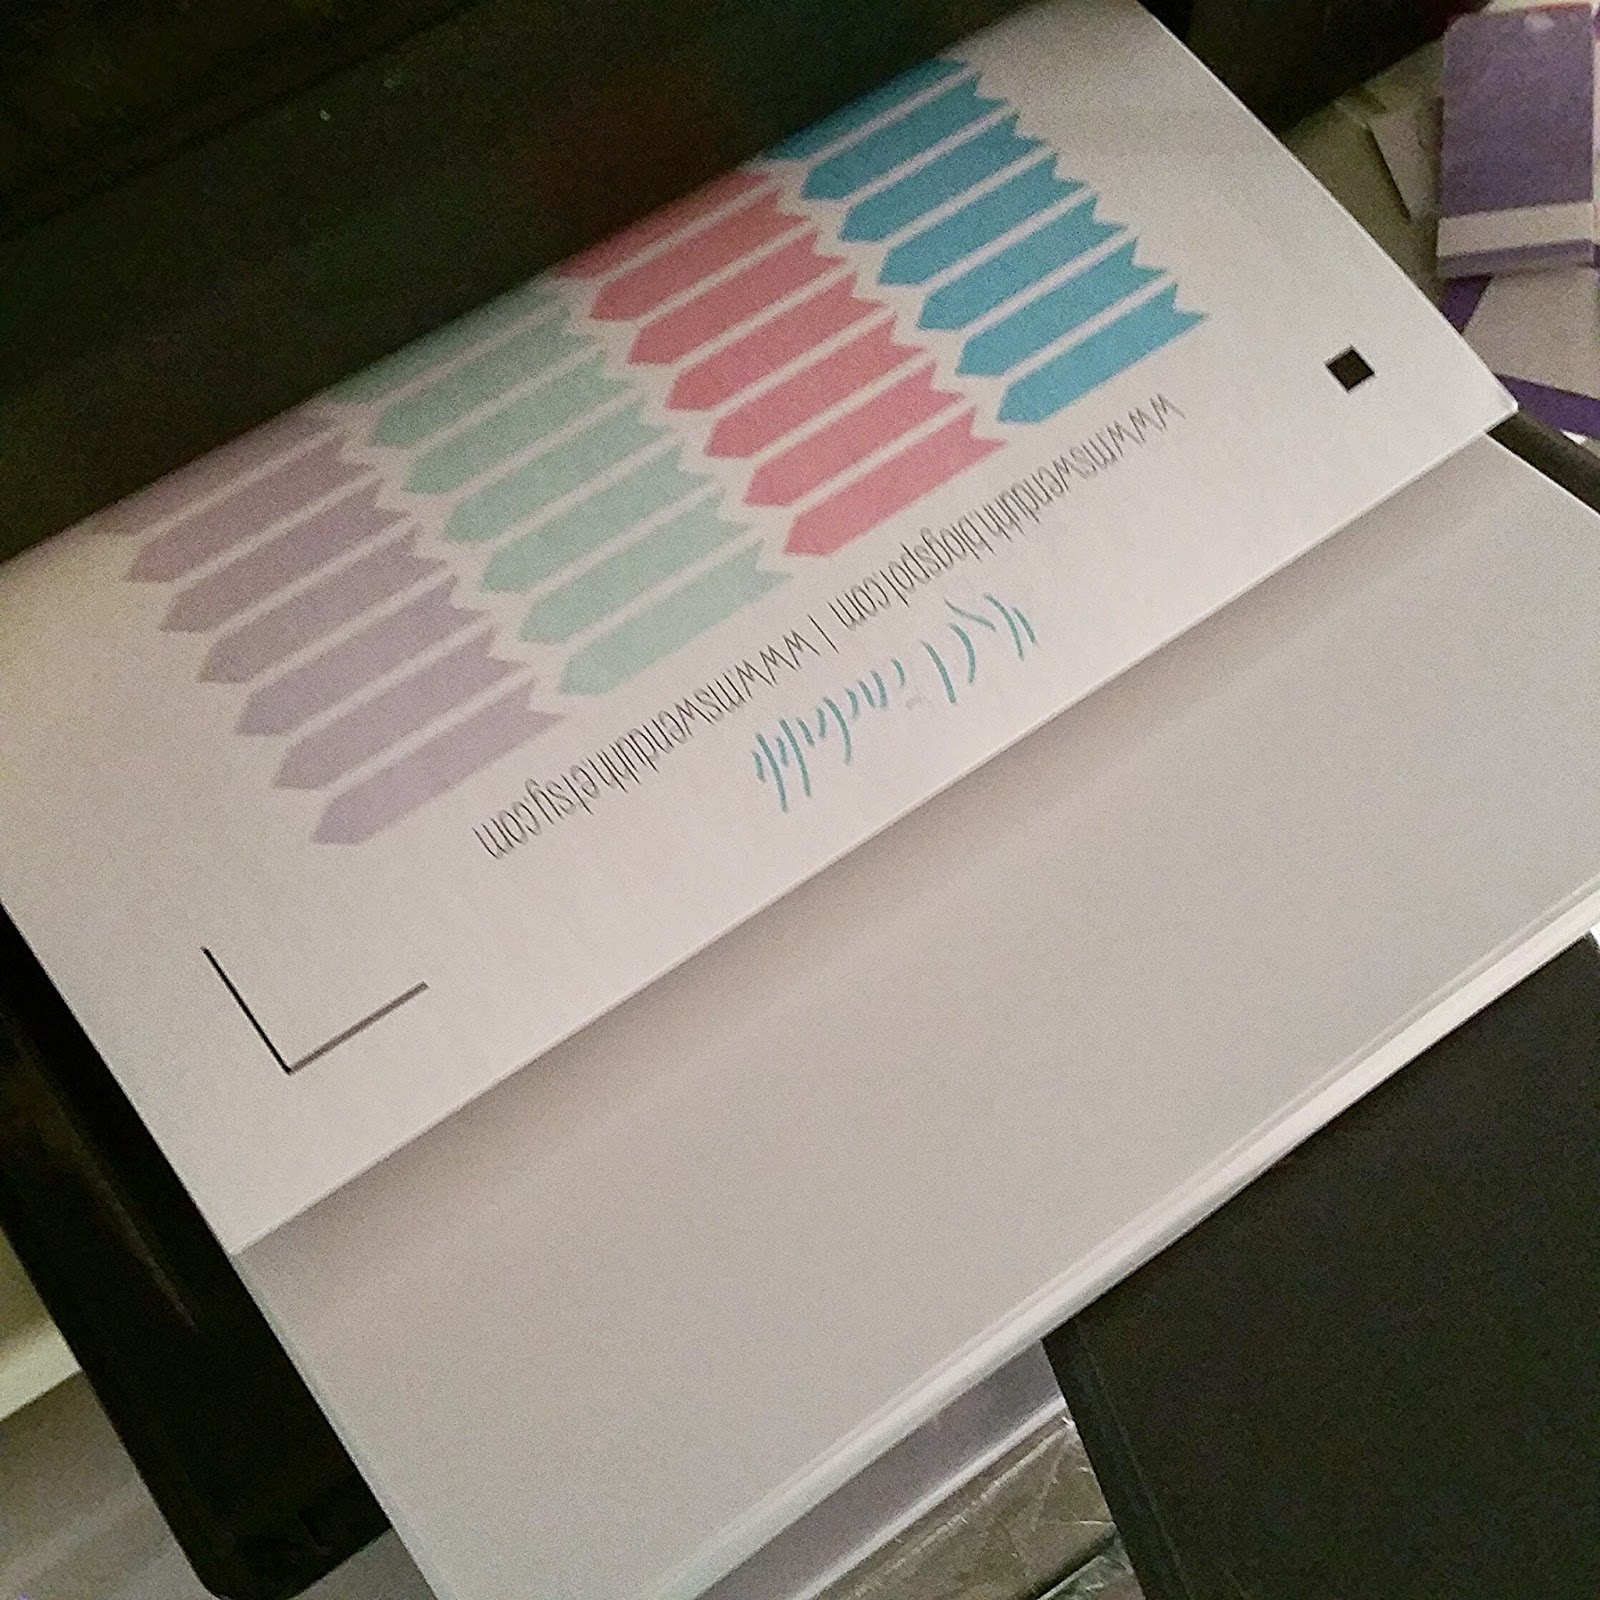
After you are done, you are ready to print! All you have to do is click the printer icon on top to send it to your printer.

Make sure you have sticker paper in there! Or if you are using cardstock fill it up with that!


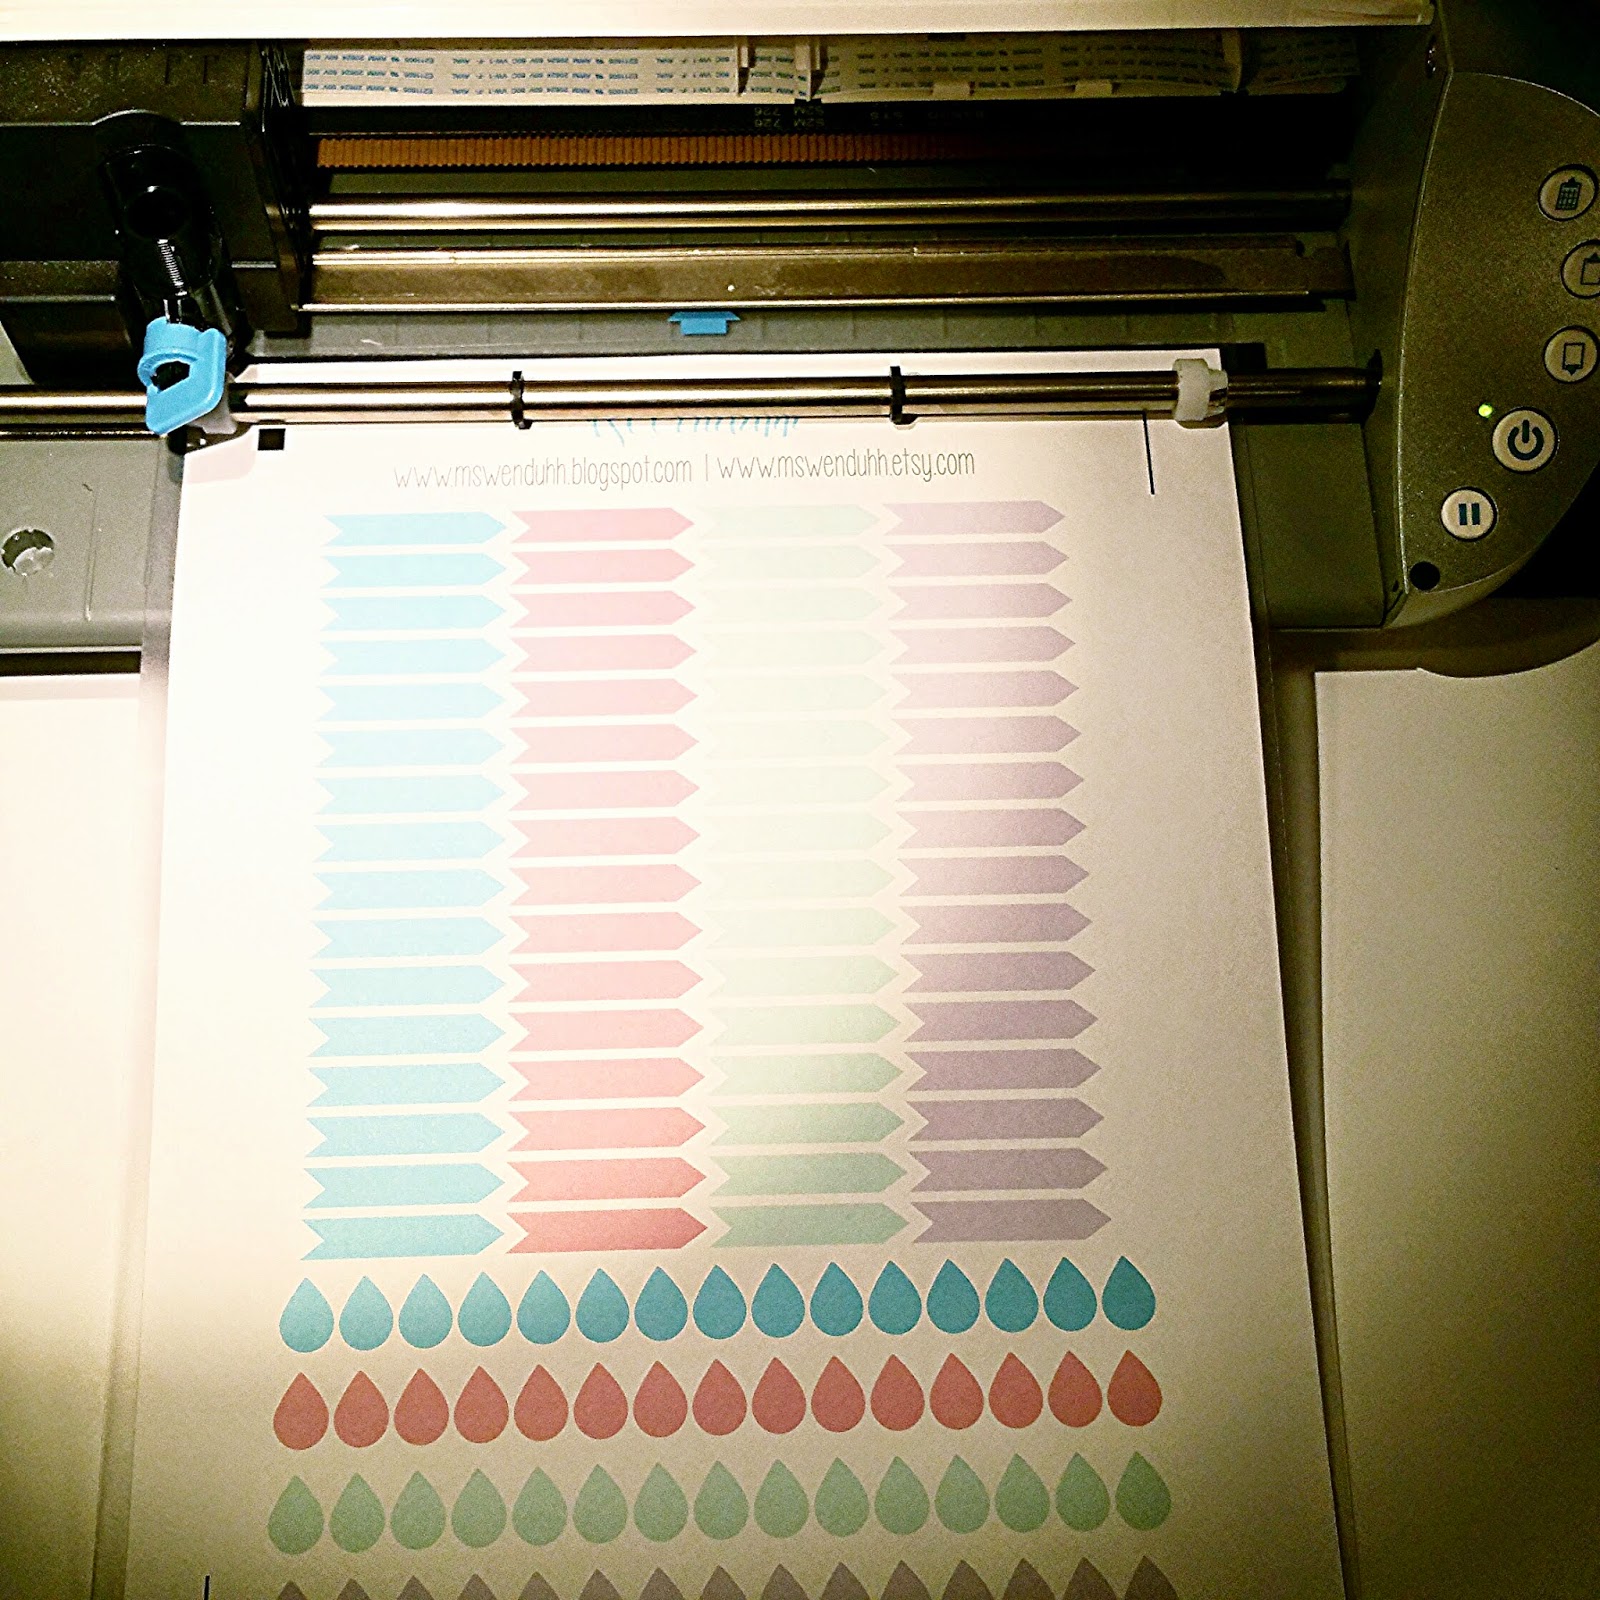
printing with my HP printer with registration marks

Step 7: Cutting

After you are done printing take your paper and place it on the silhouette mat. I use the light hold mat for my stickers because it is super easier to take off! Then just place it using the guidelines for 8.5 x 11in. & make sure it's nice and straight.

place printed paper on mat

load mat into silhouette

Then place it in the machine and click on the load mat button.


Now go back to the computer and make sure all your cut settings are right. You can see what will be cutting by clicking on the blade icon (cut settings) and the red triangle. The red lines show you what will be cut.


Then just choose what media you are cutting. I use white sticker paper settings for mine and it automatically changes the settings for me. You can test cut if you aren't using Silhouette Brand sticker paper. & change the thickness until it kiss cuts perfectly!

Then change your actual blade number to match what's on the computer. 
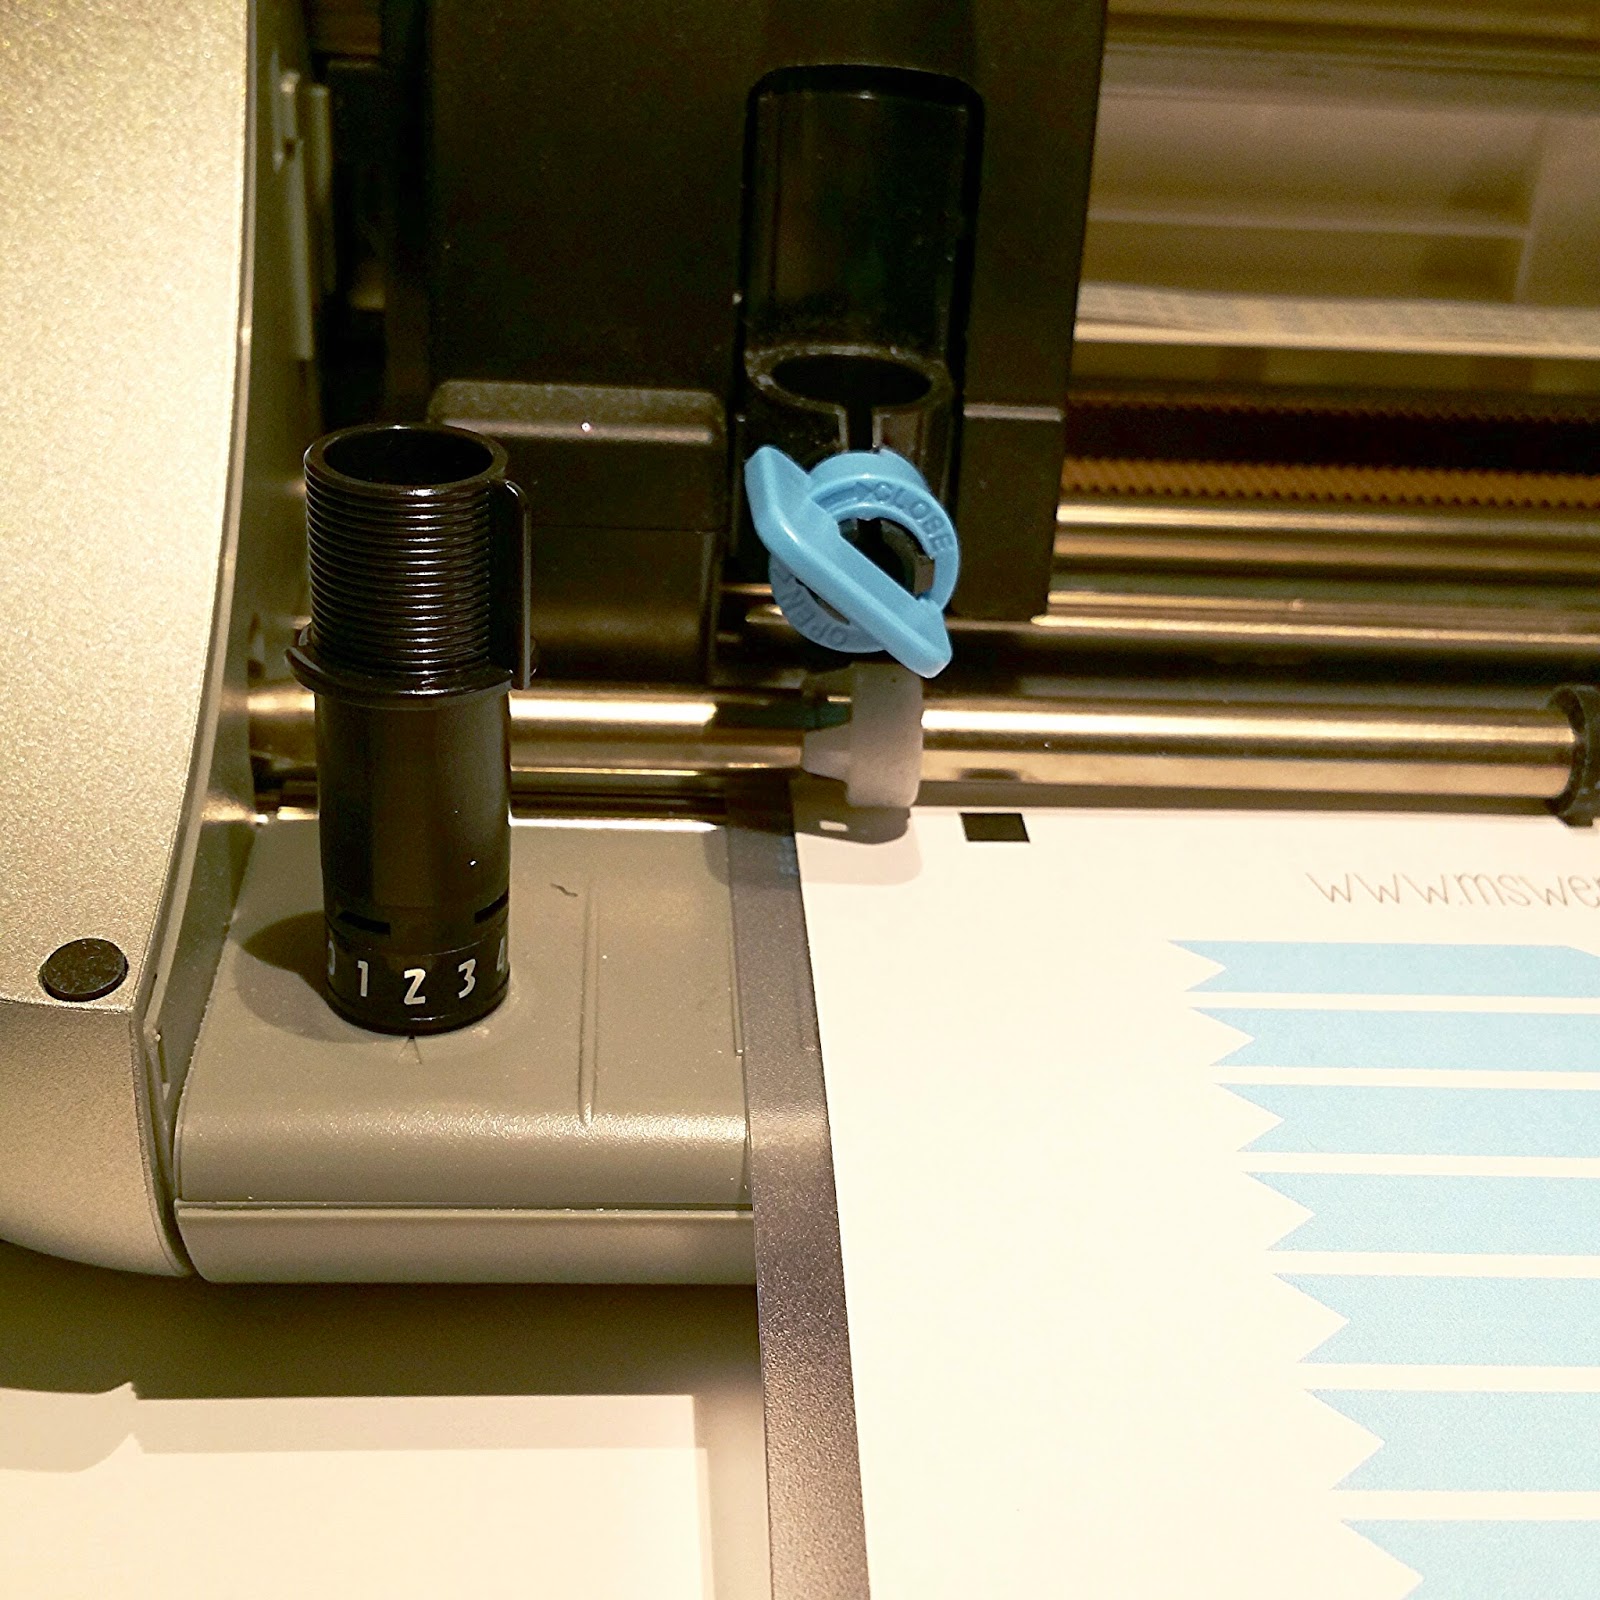
change blade number


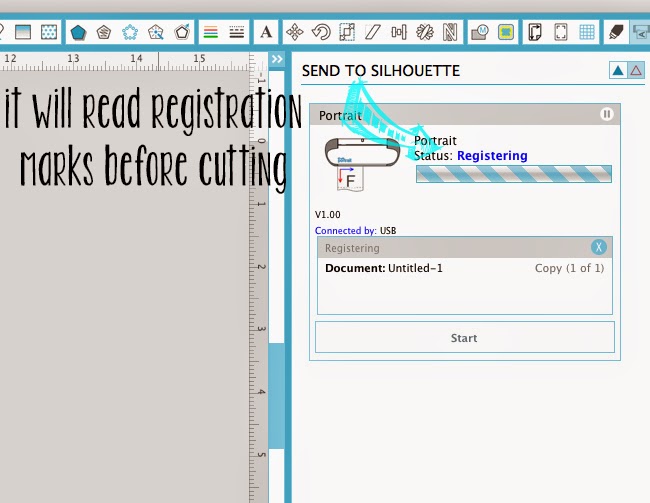
After that just click "send to silhouette."

Your machine will start reading the registration marks then start cutting.
Add caption

Step 8: All Finished!

After it is done cutting, unload the mat and peel off your paper. If you find it to sticky and curling, flip it over and peel the mat away from the paper instead. Check your sticker if it was kiss cut perfectly or not by peeling one! & That's it!


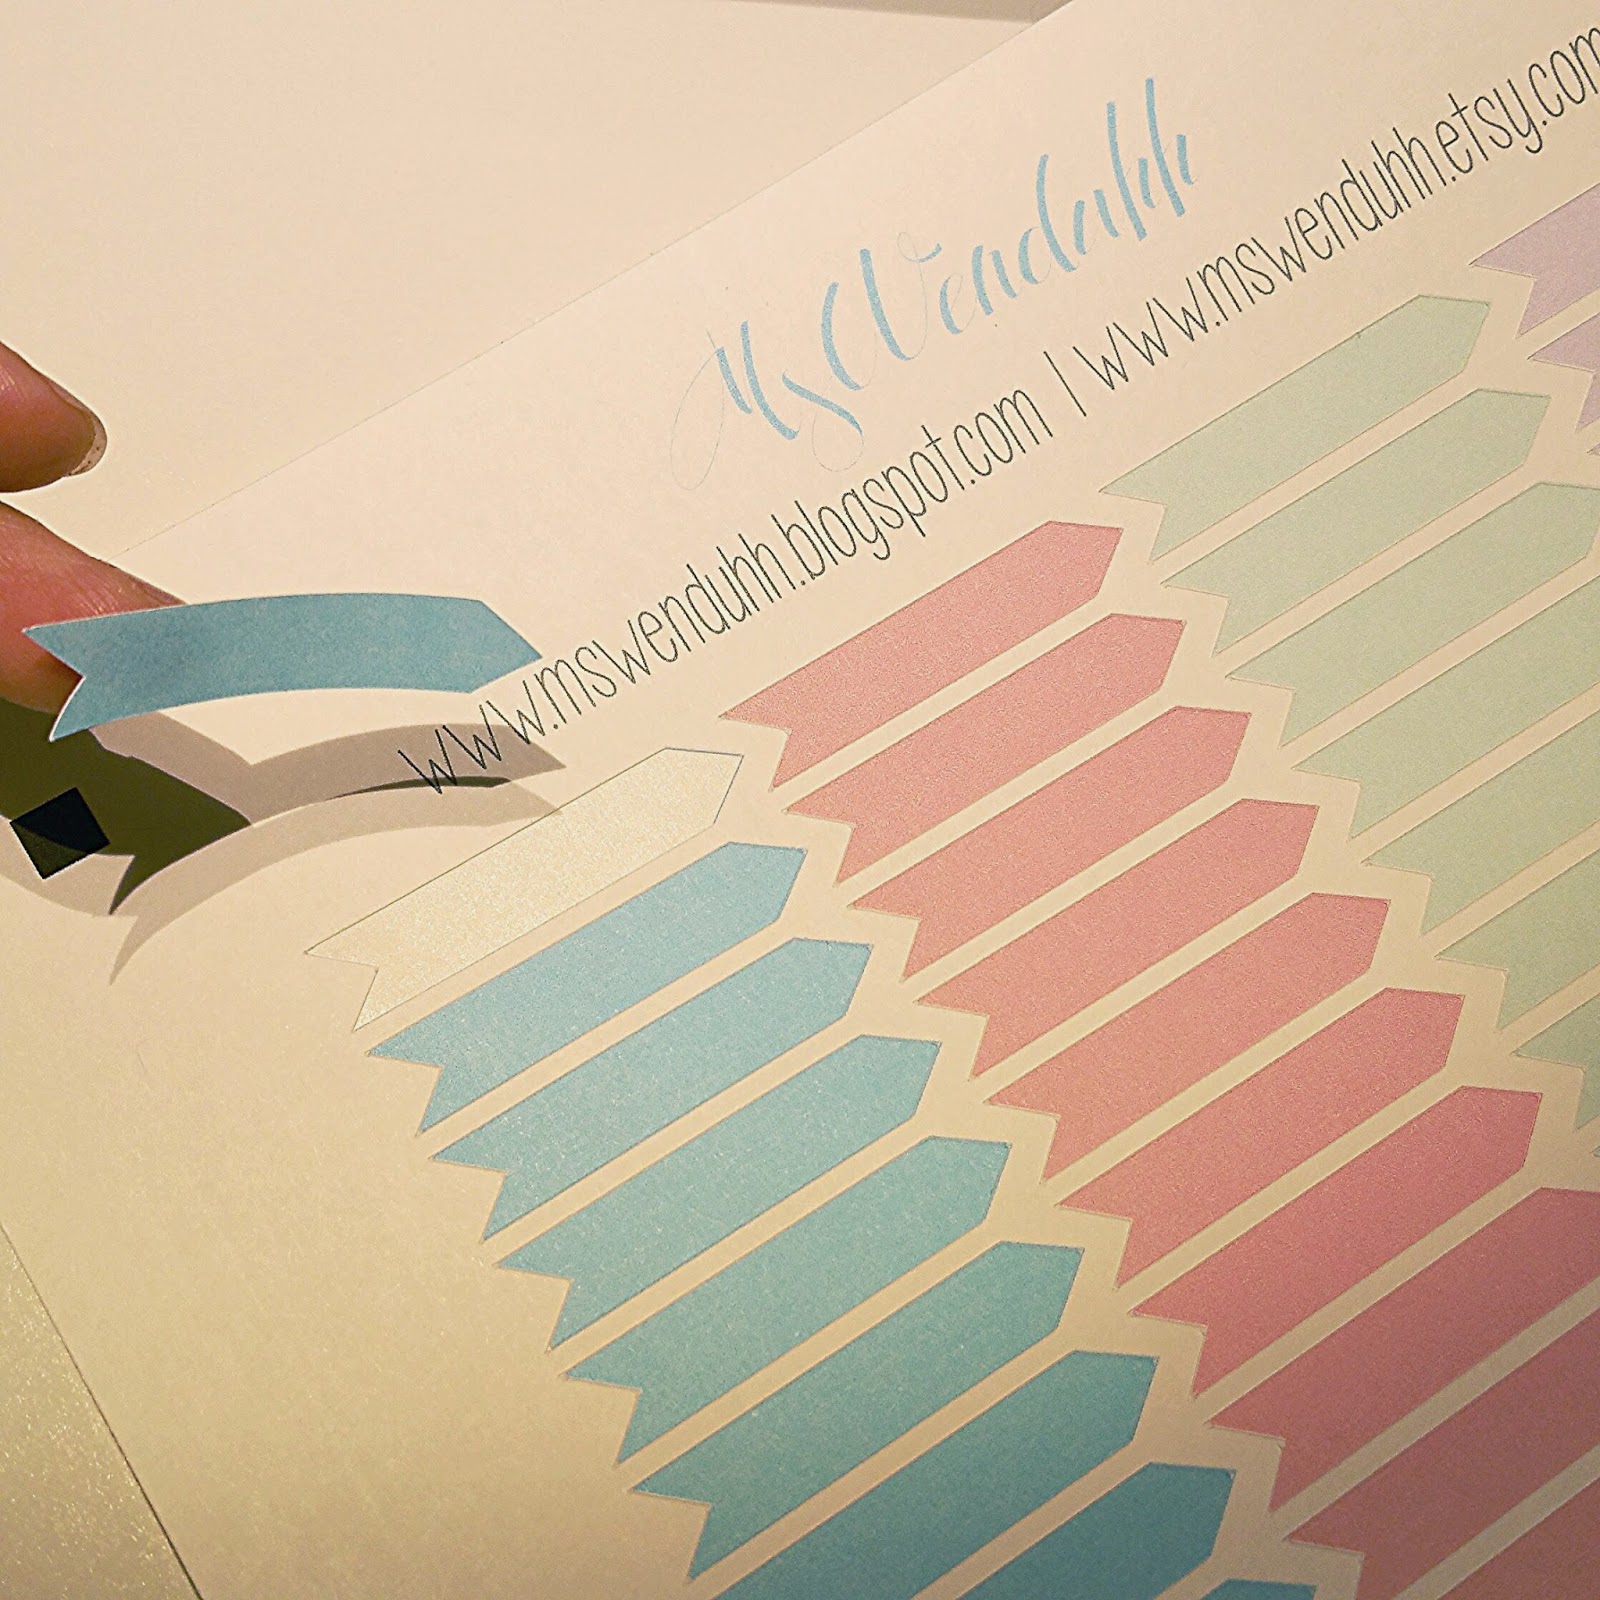
I hope this has helped you in using your silhouette machine for printing and cutting! Stay tuned for more posts related to this. Next week I will show you how to trace and cut out a .jpg or .png image!


For more help try downloading one of my free Sillhouette files I have shared here on my blog to learn from it!

Valentine's Day Print & Cut File


Creative Commons License
This work is licensed under a Creative Commons Attribution-NonCommercial-NoDerivatives 4.0 International License.

Monday, January 26, 2015

Erin Condren $50 Gift Cards Giveaway! {Two Winners} {CLOSED}


I was so excited when the Erin Condren team agreed to host a giveaway on my blog & Instagram! I am a huge fan of their planners and accessories. It was what really got me started into this whole planner community. I loved the colorful pages, the cute fonts, inspirational quotes, pretty colors, and the customizable covers! It's perfect for being organized and getting your entire life on track.

So not only do I get to giveaway one $50 gift card to their site, I get to giveaway TWO! If you have their planner already, you can get yourself any of their other wonderful products. They have all kinds of calendars, checklists, deskpads, wedding planners, teacher planners, notebooks, cards, phone cases, acrylic storage boxes, and sooo much more! I have their address book as well and absolutely love it!  These planners are life changing. They will help you stay on track with everything in your life. These planners are just the right size to juggle just about everything in your life including budgeting your finances, fitness, appointments, homework, meetings, work, projects, deadlines, holidays, and more!

Here's a sneak peak at some of their wonderful pages, which are so smooth and thick! 
Covers are custom made & can be switched out now!

Planners come with this perpetual calendar booklet!


Year at a glance

Month on Two Pages
Colorful Schemes every month

Weekly Pages


Different Color Schemes every Month!

Lots of Stickers included!

Blank Notes Pages

Lined Notes Pages

A Folder in Back To hold any paperwork

Strong & Sturdy Laminated Tabs

More information about their features!


& here is their wonderful Address Book!

I use mine as a password book as well! 


Now on to the Giveaway!

1. Follow Erin Condren & Myself on Instagram! (Click Here to Follow Erin Condren & Here to Follow Me)
2. Click on this Instagram photo & like it,
3. @tag a friend in the comments
4. & repost the image using the hashtag #MSWENDUHHLOVESEC

Winners will be announced February 1st 2015! 

Congrats Lizbeth and Niccole!!

*This Giveaway is sponsored by Erin Condren, but all opinions are my own.
Must follow all rules above to qualify
Please no giveaway or private accounts.
Only one entry per person
Must be 18+ years or older or with parental consent to enter
Open Worldwide!


Love,
Image and video hosting by TinyPic

Friday, January 16, 2015

Managing & Keeping Track of Your Time + Free Printable

With so much on my plate right now, I really needed to see how much time I was spending on everything. I needed to keep track specifically on how much time I spent on my blog and shop. I downloaded this app on my phone, called aTracker, and it is so great! You can input different tasks, and each has an icon/color then it creates a pie chart to let you see how you spend your days. The lite version only allows for 4 categories so I chose "packing orders", "printing & cutting", "pictures/videos" & "social media". This app is awesome in helping me keep track of time, but my phone dies often, or sometimes I just don't have it by me when I am working on the computer. I also wanted to be more specific with my time tracking, and I really just wanted to keep track of time in my planner so I made this free printable to do just that! You can download this printable in 3 different sizes down below!

How to use this printable:

Tasks

Have a task you'd like to keep track of? Maybe you want to use this printable for work hours, or see how much time you actually spend browsing your phone, or exercising? whatever you need to keep track of write it down in the tasks list. Try to keep your tasks all in one category so at the end of the week you can see how many hours were spent doing that specific activity. For example, if you choose to use this for exercising, instead of simply writing exercise in the tasks lists, you can write down what workout you did. Like I said earlier, I am using this to see how many hours I work in a week on my blog and shop. So I separated the tasks into "packing orders", "printing & cutting", "pictures/videos" & "social media". I also should add a section for writing blog posts, making printables, and designing new stickers! (all things that I do for my blog and/or shop!)

Start/End Times:

Then simply write down the time you started doing that task, andt he time you ended it.

Total Time:

Afterwards calculate the total time you spent on that one task. Example if you started exercising at 8:00am and ended it at 9:30am then you would write down 1.5 hours in the total time column.

Total Hours:

At the end of the week you can calculate all of your total times by adding it all up and seeing how much time you spent


Download:
A5
Personal
Pocket

What do plan on keeping track of? I hope this helps you manage your time better! 

Trouble?
If you are having trouble printing this printable, I have found through many other readers that it prints out in actual size better if you first download the file directly onto your computer first, then opening and printing that file from there. be sure to print at 100% or actual size and use these instructions to see how I print my inserts!

This is for personal use only! If you do end up using these I would love to see pictures. Tag me on Instagram @wenduhh_plans or #mswenduhhblog Please do NOT share the actual file or file link. Instead please send your friends here to download my free printables, thank you.
Creative Commons License
This work is licensed under a Creative Commons Attribution-NonCommercial-NoDerivatives 4.0 International License.

LinkWithin

Related Posts Plugin for WordPress, Blogger...