Need images to get started on making your EC Squares, check out my previous blog post on it
here!
Update: so today, July 27th, I was playing around with Microsoft word and opened a new "
word publisher" document, and when I pasted tons of pictures (they were huge by the way), I was able to select all on there, but not in a regular word document. So there I selected it all, and changed all the sizes to 1.5" width and 1.9" height. And it worked! It took really long and was super duper slowing down my computer and froze for a while though. But that's another way of doing it!
So after googling several ways on how I can adjust multiple images at once and not finding anything at all about that; I instead found this where you can make tables and paste pictures into it to make it a certain size.
It beats adjusting each picture one by one and typing 1.9 x 1.5 for every single picture!
Read on to see how I did it, or just skip steps 1-6 and start at Step 7 and download the file link below to start pasting your images and making your weekly squares for your ECLP!
Step 1:
Open Microsoft Word and set your margins to .5"
 |
| adjust your margins to "narrow" 0.5" to make the most use out of your sticker paper |
Step 2:
Go to Tables and create a New Table that is 5x8
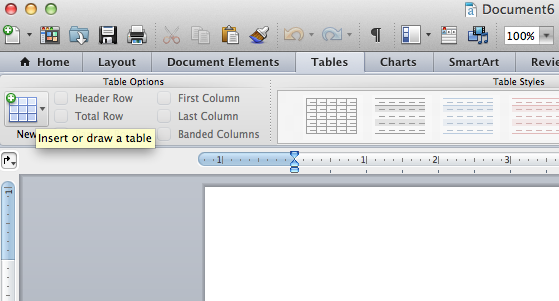 |
| Go to tables and insert a new table |
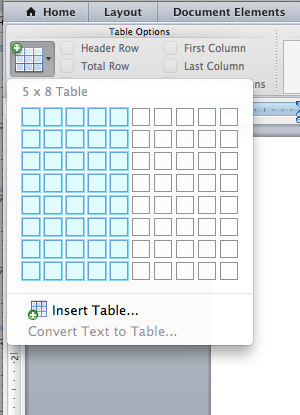 |
| Make your table 5 columns by 8 rows (or more) |
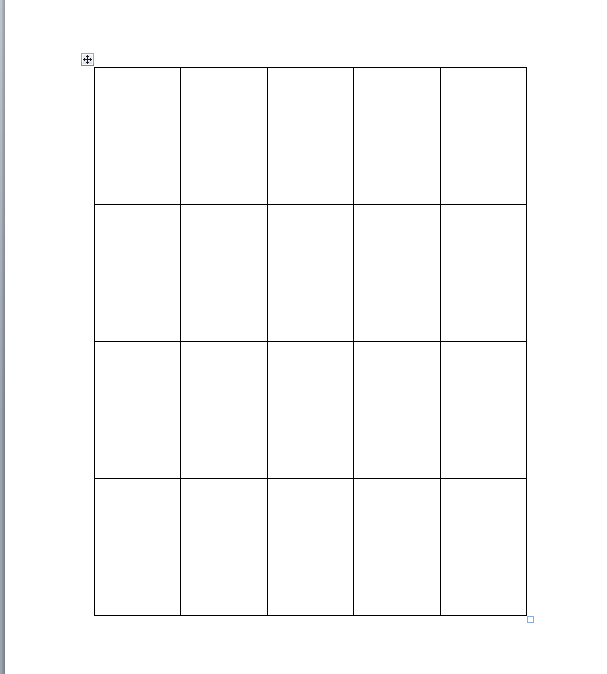 |
| This is what the table will look like |
Step 3:
Right click the table> table properties>options>adjust the borders all to 0"and also uncheck the box that says "automatically resize to fit contents". Then press OK. (don't worry steps 3-6 you will not have to repeat)
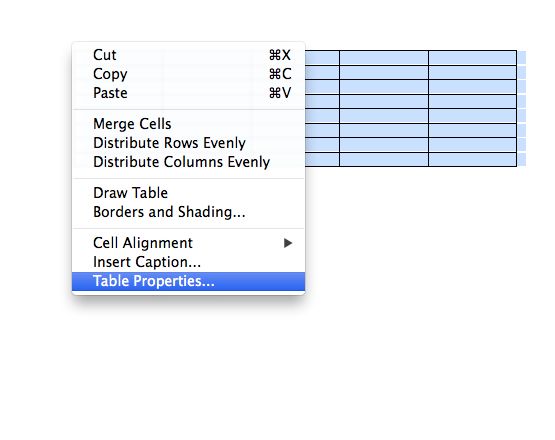 |
| right click >table properties |
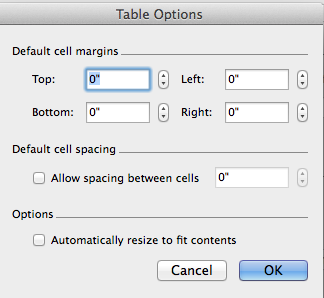 |
| click on options and adjust all margins to 0" and uncheck "automatically resize to fit contents" |
Step 4:
In the table properties box, click on Row, check specify height and change it to 1.9" exactly
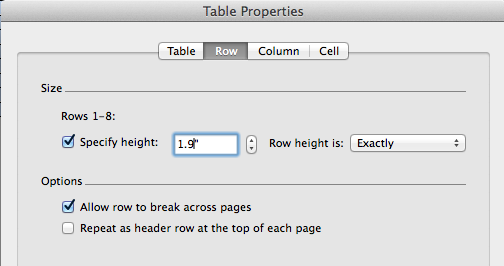 |
| Row: height 1.9" |
Step 5:
Then click on column, and check preferred width and change that to 1.5"
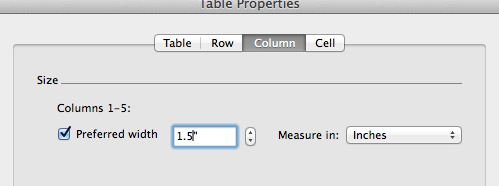 |
| Column: width 1.5" |
Step 6:
Then click on cell and change the preferred width to 1.5" as well
 |
| Cell: 1.5" |
Step 7:
Finally copy your image, then go to edit>paste special (i recommend finding the shortcut for paste special, on my mac it's control, command and V on the keyboard)
 |
| copy your image from pinterest or.. |
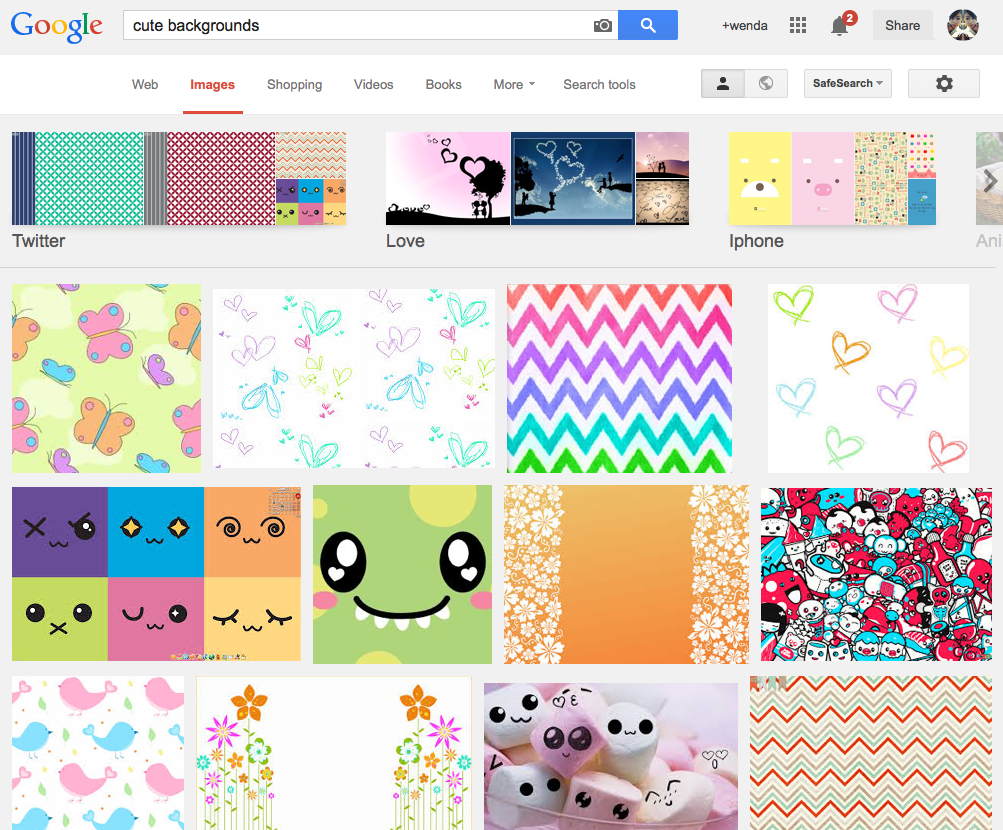 |
| find images from google images and right click and copy |
 |
| edit>paste special or use keyboard shortcut as shown (control+command+V) This is on a Mac |
Step 8:
Paste it as a Picture then press OK
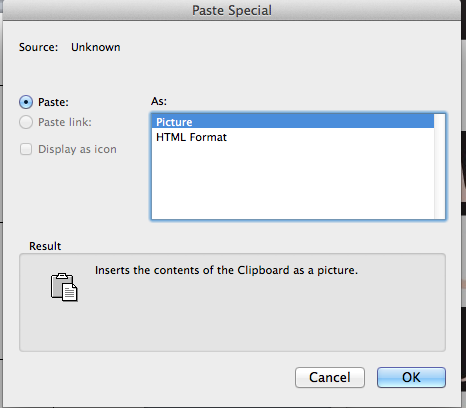 |
| Click on Picture |
Step 9:
The picture will fit into the box just click on it and drag it to resize to fit the box perfectly
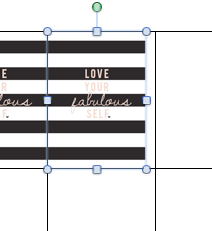 |
| before dragging to resize it |
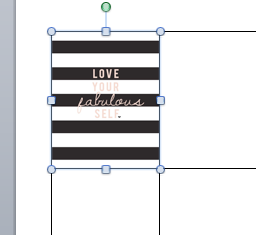 |
| resized to fit box |
Step 10: go to file>reduce file size to make the file smaller
Step 11: save as PDF or word, whichever you prefer!
Step 12: print on sticker paper! Or print on regular paper, cut it
all up, and use your sticker maker or adhesive of your choice to stick these
beauties in your planner!
Or if you would like to just skip Steps 1-6 and just go straight to
pasting your found images, then download this word file that I made that
has the tables already set! Click Here
Please refer to the previous post for more on finding images and such. Thank you for reading!


10 comments:
What an amazing tutorial!! I will definitely be posting, with a link back, in the next few weeks!!!
Your computer savvy goes without saying. Your kindness in sharing is unknown to mankind. You are one special person. Hoping your goodness comes back tenfold. Thank you!
Your blog has made my transition to the Erin Condren planner SO much easier (and much cheaper)! Thank you sooooo much!
seriously amazing! thank you for making it easier for the rest of us!
Wish I had ur talent.. not computer Davy at all.. I hope one day I will figure it out.. really was hoping to make me some walking dead stickers for the season coming...
Thanks so much for this tutorial. The cat is out the bag!!!!
Thank you so much for this blog!!!! Life saver
This is awesome. Thanks!! I've been wanting to do this, but am soooo not computer Savy. I can't wait to make my stickers.
This is great! Glad I came across your blog. Now I just have to wait for my planner to arrive...
Post a Comment