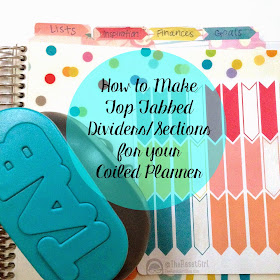
Items Needed:
- Tab Punch (Mine are from We R Memory Keepers, purchased from Hobby Lobby)
- Tab Stickers (usually comes with the tab punch, but can also be purchased separately)
- Scrap Paper
- Labels/Stickers
I went with 4 since that was all that could fit with this tab punch! My sections are as follows:
- Lists - I plan to write down wish lists, gift ideas lists, and any other kinds of lists in this section
- Inspiration - In this section I would like to write down quotes that inspire me or paste pictures of inspirational projects. Also maybe jot down some ideas and notes for future projects.
- Finances - A place to keep track of all of our income and expenses. Maybe a savings plan, online shopping tracker, and more!
- Goals - Goals for the year! Personal, business and more.
After labeling your tabs, position them in your notes section and in the order you'd like. How many pages of notes do you want in each section?
Then grab your tab stickers and place the punched out and labeled tab under the middle fold line on the sticky side. Before folding the sticker down, place the bottom part of the sticker on the back of the paper you want that section to start on.
Then just fold down. Don't worry though if you don't like the position, these are removable and comes off pretty easily if you do it carefully and slowly.
Next, grab the 2nd tab and position it right after the 1st tab on a few pages behind the first section and repeat the steps above. And do that for the rest of your tabs!
& that's how to make your own tabbed sections for your planner!
I hope this helped you out!
If you do end up using these I would love to see pictures. Tag me on Instagram @wenduhh_plans or #mswenduhhblog Please do NOT share the actual file or file link. Instead please send your friends here to download my free printables, thank you.


This work is licensed under a Creative Commons Attribution-NonCommercial-NoDerivatives 4.0 International License.


1 comment:
I need to find one of these tab punches! I've seen them around, but never think of it while I'm at the craft stores! They seem rather handy!
Post a Comment